Vacuum Sealing vs Standard Freezer Storage — 2026 Tested
Vacuum sealing extends freezer life from 6 months to 2-3 years by eliminating freezer burn. The mechanism, equipment, and workflow that actually works at home.
Safety fact check included
CookNest Daily articles surface source counts, timing assumptions, kitchen-test notes, and food-safety caveats. This label means editorial safety review, not a substitute for local food-code or medical guidance.
The vacuum sealer is the single biggest upgrade to home food storage. It transforms freezer storage from a 6-month gamble against freezer burn to a 2-3 year reliable preservation method. The same chemistry that lets restaurants store proteins for months without quality loss is now available to home cooks at a $130-200 investment.
This article explains the science of why vacuum sealing works, walks through the practical workflow for home use, and recommends specific equipment across the budget range. The conclusion is that any home that buys meat in bulk, meal preps, or owns a deep freezer should add a vacuum sealer to the kitchen — the payback time is under a year for most households.
- Freezer burn chemistry — what it actually is
- How vacuum sealing prevents oxidation and sublimation
- Equipment comparison: edge sealers vs chamber sealers
- Sous vide compatibility and bag requirements
- Top picks across $40-450 budget range
The freezer burn chemistry
Freezer burn — those grayish-white patches on frozen meat, the leathery texture, the off-flavors — is the result of two simultaneous processes.
Sublimation: Ice crystals on the food surface convert directly from solid to vapor (skipping the liquid phase) when exposed to dry freezer air. The vapor escapes from the food, leaving behind dehydrated, leathery areas. This is the structural component of freezer burn.
Oxidation: Oxygen in the air reacts with fats and proteins in the food surface. The fats become rancid (off-flavors), and the proteins discolor and develop tough textures. This is the flavor component of freezer burn.
Both processes require air contact with the food. The standard freezer bag still allows air pockets and air leakage over time. Even tightly wrapped foil has microscopic gaps.
Vacuum sealing removes the air entirely. The food sits in direct contact with the plastic, with no oxygen to oxidize and no dry air to enable sublimation. The food maintains its original state for dramatically longer.
The visual proof: vacuum-sealed beef pulled from a 0°F freezer after 18 months looks essentially the same as the day it was sealed. The same beef in a freezer bag at the same time shows visible freezer burn, gray patches, and off-color zones.
Edge sealers vs chamber sealers
Two technologies dominate the vacuum sealer market:
Edge sealers (FoodSaver, NutriChef, Geryon): Bags are made with one textured side that channels air toward the edge where the machine pulls it out. The machine then heat-seals the edge. Pros: cheap ($40-200), small footprint, fast for batch work. Cons: limited to dry foods (liquids get sucked into machine), requires special textured bags.
Chamber vacuum sealers (Anova Precision Pro, Vacmaster, VP-215): The entire bag (with food inside) goes into a chamber. The chamber pumps out all air, then the bag is sealed. Pros: works with liquids and wet foods, faster cycle time, uses cheaper smooth bags. Cons: expensive ($400-2000), large footprint, requires more counter space.
For most home cooks, an edge sealer is the right pick. The price difference (FoodSaver V4840 at $130 vs Anova Precision Pro at $440) is significant, and most home use cases don’t require liquid sealing. The freeze-first workaround handles the occasional soup or stock that needs sealing.
For meal prep services, hunters processing wild game, or users who do extensive sous vide with liquid marinades, the chamber sealer is the worthwhile upgrade.
Sous vide compatibility
Vacuum sealing pairs naturally with sous vide cooking. The vacuum-sealed bag protects food during the long water bath cook and ensures even temperature contact.
Bag requirements for sous vide:
- Polyethylene plastic (BPA-free)
- Rated for 195°F+ continuous temperature
- Food-grade certification (typically NSF or similar)
FoodSaver standard bags: officially not certified for sous vide above 195°F continuous. Many users use them anyway with no apparent issues, but the manufacturer doesn’t certify it.
Anova Precision bags, ChefSteps Joule bags, and Vacmaster vacuum chamber bags: certified for sous vide use at 195°F+ continuous. Safer choice for serious sous vide cooking.
The bag certification matters more than the sealer brand. You can use Anova bags with a FoodSaver machine — verify the bag is dual-purpose (vacuum seal channel + sous vide rated) before purchase.
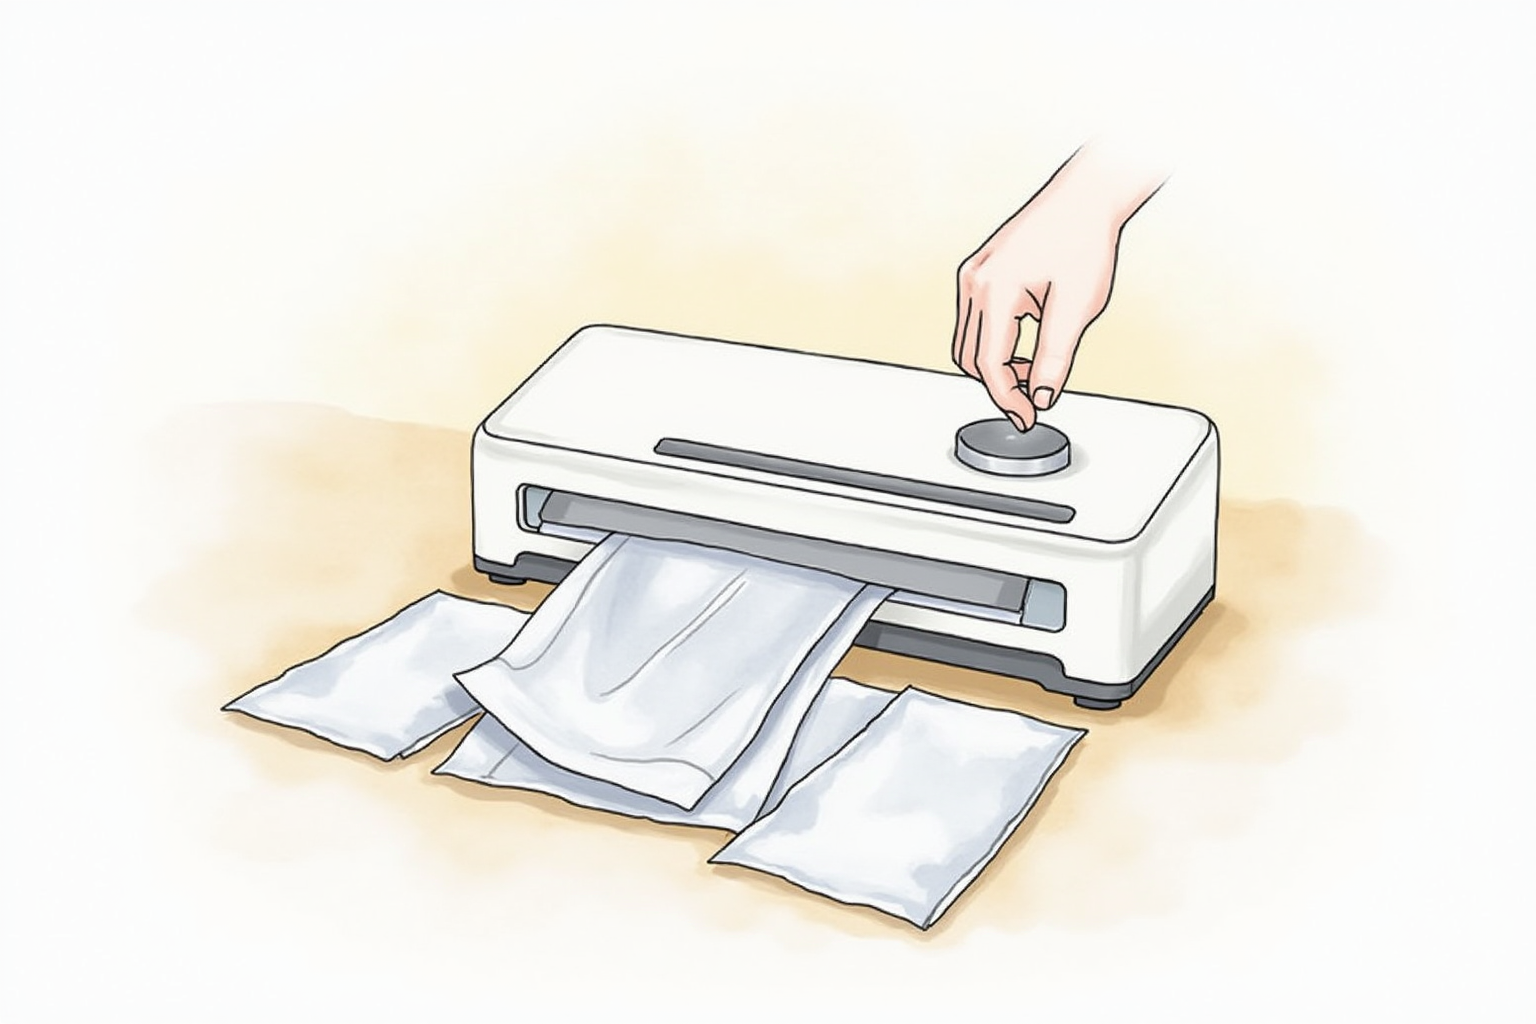
Workflow for home use
The practical workflow that produces best results:
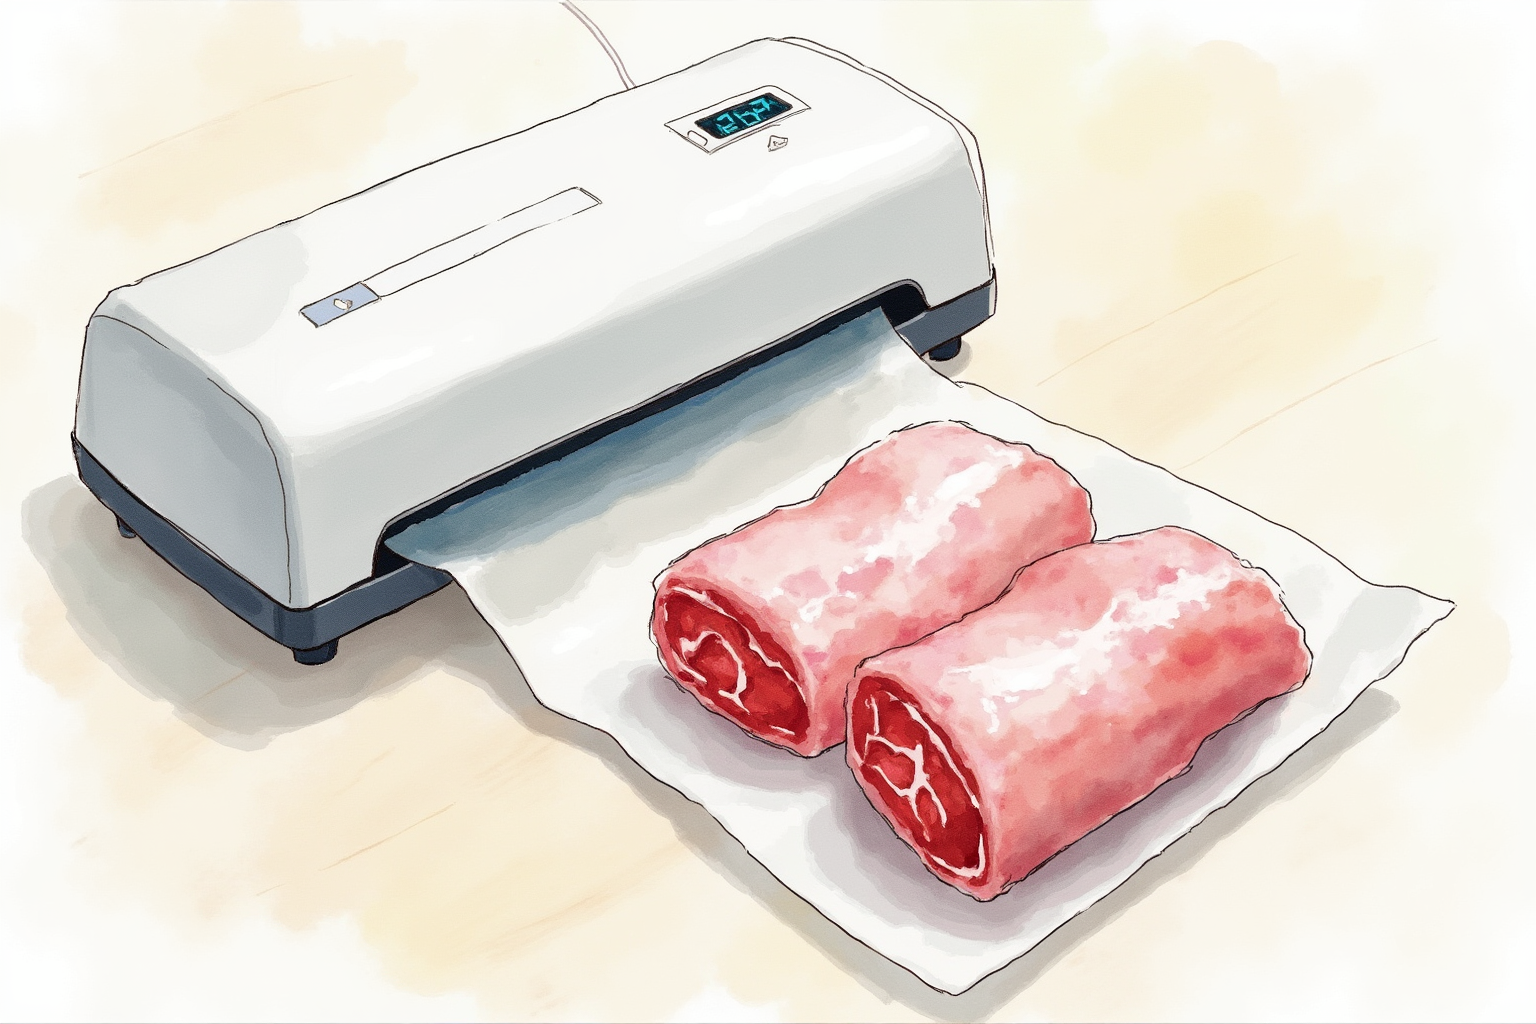
1. Portion food into single-meal sizes. A 4-lb pork shoulder gets cut into 4-6 portions before sealing. Cooked in batches, each portion serves the family one meal. Avoid sealing larger quantities — defrost time becomes prohibitive.
2. Pre-freeze if needed. For wet foods (marinated meats, raw fish), pre-freeze the portion on a sheet pan for 1-2 hours until the surface is firm. This prevents juice from being sucked into the sealer.
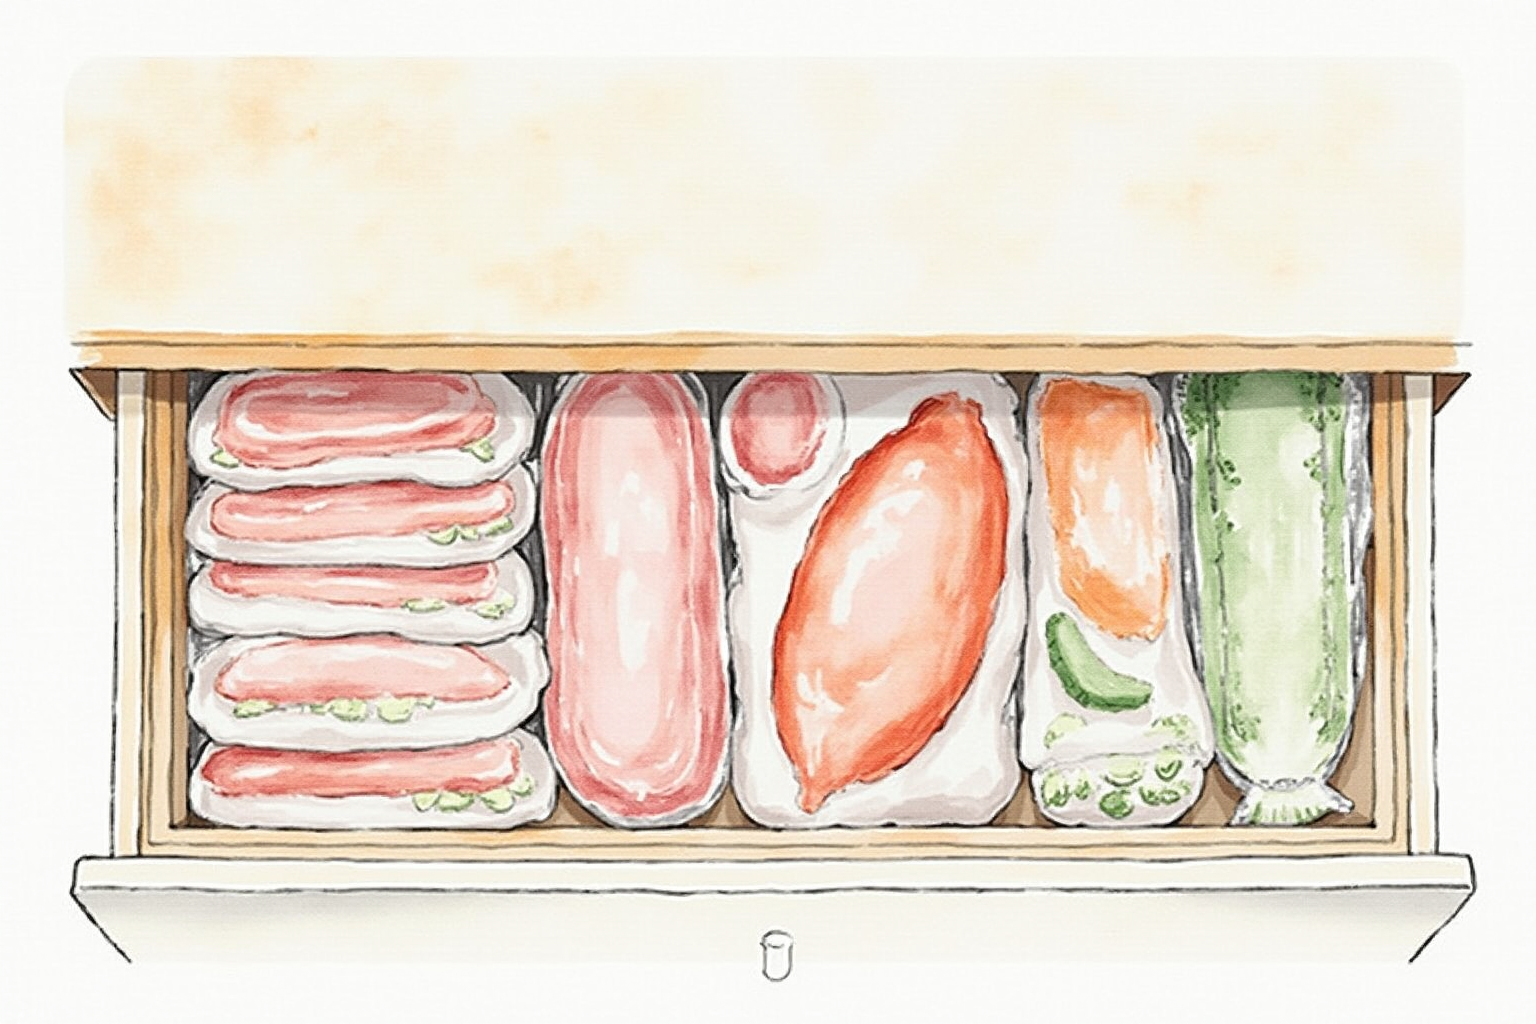
3. Lay flat for stacking. Seal the bags flat (not bulged), which lets them stack like books in the freezer. Stacked flat bags use freezer space dramatically more efficiently than amorphous chunks of food.
4. Label clearly. Write the contents and date on the bag with a permanent marker before sealing. The marker won’t smear once the bag is frozen.
5. Organize by category. Designate sections of the freezer for proteins, vegetables, batch-cooked meals, etc. The vacuum-sealed bags are now visible labels.
6. First-in-first-out. Use older items first. With long shelf life, it’s tempting to leave aging vacuum-sealed items for “later” — develop the habit of rotating stock.
Top picks across budgets
FoodSaver V4840 Vacuum Sealer
Price · $130-180 — best mid-range pick
+ Pros
- · Automatic moisture detection adjusts cycle for wet foods
- · Built-in roll storage and cutter make bag prep faster
- · Reliable FoodSaver brand with decades of consumer feedback
− Cons
- · Standard FoodSaver bags not certified for sous vide above 195°F
- · Cycle time of 12-15 seconds slower than premium alternatives
Price, availability, and ratings can change; verify details on the retailer page before buying.
Anova Precision Vacuum Sealer
Price · $80-110 — best budget pick
+ Pros
- · Compact design fits in any kitchen drawer
- · Bags compatible with Anova sous vide ecosystem
- · Anova brand reliability and customer service
− Cons
- · Manual moisture mode requires user adjustment
- · Smaller seal bar limits very large bag widths
Price, availability, and ratings can change; verify details on the retailer page before buying.
Anova Precision Pro Chamber Vacuum Sealer
Price · $400-480 — best premium pick
+ Pros
- · Chamber design handles liquids without pre-freezing
- · Industrial-grade build quality and 10-year practical lifespan
- · Cycle time of 30 seconds for any bag size
− Cons
- · Premium price reflects chamber technology
- · Large footprint requires dedicated counter space
Price, availability, and ratings can change; verify details on the retailer page before buying.
The buying decision
For most home cooks who bulk-buy meat or meal-prep, the FoodSaver V4840 at $130-180 is the right starting point. The automatic moisture detection and decade-long brand reliability make it the foundation pick.
For budget-conscious users or those with limited counter space, the Anova Precision Vacuum Sealer at $80-110 delivers the essential functionality at lower cost. The Anova brand integration helps if you also use Anova sous vide.
For serious cooks who do liquid-heavy sous vide or process large quantities of meat regularly, the Anova Precision Pro chamber sealer at $400-480 is the right premium investment. The ability to seal liquids and the industrial build quality justify the price for high-volume use.
Avoid no-name vacuum sealers under $40 — motor wear and seal bar failure concentrate at the budget tier. The $80-110 minimum is where reliable consumer-grade equipment starts.
The vacuum sealer is one of the most-overlooked equipment upgrades for serious home cooks. The combination of extended shelf life, sous vide compatibility, and freezer organization compounds over years. The payback period (in saved bulk-buy savings vs grocery store prices) is typically under a year.