Egg Doneness Temperature Chart — From 60°C Custard to 75°C Fully Set
Egg whites set at 62°C. Yolks set at 68°C. The 5-degree window between them is where every shape of cooked egg lives. Here is the full temperature map from sous-vide measurements.

Safety fact check included
CookNest Daily articles surface source counts, timing assumptions, kitchen-test notes, and food-safety caveats. This label means editorial safety review, not a substitute for local food-code or medical guidance.
Egg whites set at 62°C. Yolks set at 68°C. That 6-degree window is where every cooked egg variation lives — soft-boiled, sous vide poached, onsen, the runny-center hard-boiled, the custard-yolk Japanese ramen egg. Modernist Cuisine measured the protein denaturation curves. ChefSteps published the time-temperature charts. Serious Eats ran the home-kitchen tests. The data converges on a single map of egg textures by temperature.
This article walks through that map. With a sous-vide-style temperature controlled bath, you can reproduce any egg texture exactly. With a standard pot of boiling water plus a thermometer, you can hit 80% of the same textures.
The protein denaturation chart
Eggs have several distinct proteins, each setting at a different temperature. Modernist Cuisine published the cleanest version of this data in Volume 2:
Egg whites
| Protein | Denaturation temp | Effect |
|---|---|---|
| Ovotransferrin | 62°C (144°F) | First white begins to set, opaque |
| Conalbumin | 64°C (147°F) | Major white setting, gel forms |
| Ovomucoid | 70°C (158°F) | White becomes firmer |
| Ovalbumin | 80°C (176°F) | White fully sets to opaque white |
Egg yolks
| Component | Denaturation temp | Effect |
|---|---|---|
| Lipoproteins | 65°C (149°F) | Yolk thickens to custard |
| Phosvitin | 68°C (154°F) | Yolk fully sets but jammy |
| Livetin | 70°C (158°F) | Yolk firms to soft solid |
| Full set | 75°C (167°F) | Yolk chalky, fully cooked |
The key gap: yolk sets between 65-75°C, white between 62-80°C. The classic onsen egg (65-67°C) exploits this — yolk forms a thick custard, white is just barely set with a delicate texture. The classic hard-boiled egg sits at 100°C in the boiling water for 8-10 minutes — both proteins fully denature plus the green-ring reaction kicks in.

The full temperature map (sous vide style)
ChefSteps published a temperature/time grid. Here’s the consolidated version showing the most useful targets:
| Temperature | Time | Result | Use |
|---|---|---|---|
| 60°C (140°F) | 45 min | Liquid yolk, soft white | Salmonella-pasteurized raw egg |
| 62°C (143.5°F) | 45 min | Custard yolk, sliding white | Onsen-style appetizer |
| 64°C (147°F) | 45 min | Custard yolk, just-set white | Classic Japanese onsen egg |
| 65°C (149°F) | 45 min | Thick custard yolk, set white | ”63-degree egg” — restaurant standard |
| 67°C (152.5°F) | 45 min | Soft-set yolk, firm white | Ramen egg before peeling |
| 70°C (158°F) | 30 min | Set yolk, firm white | Sliced poached |
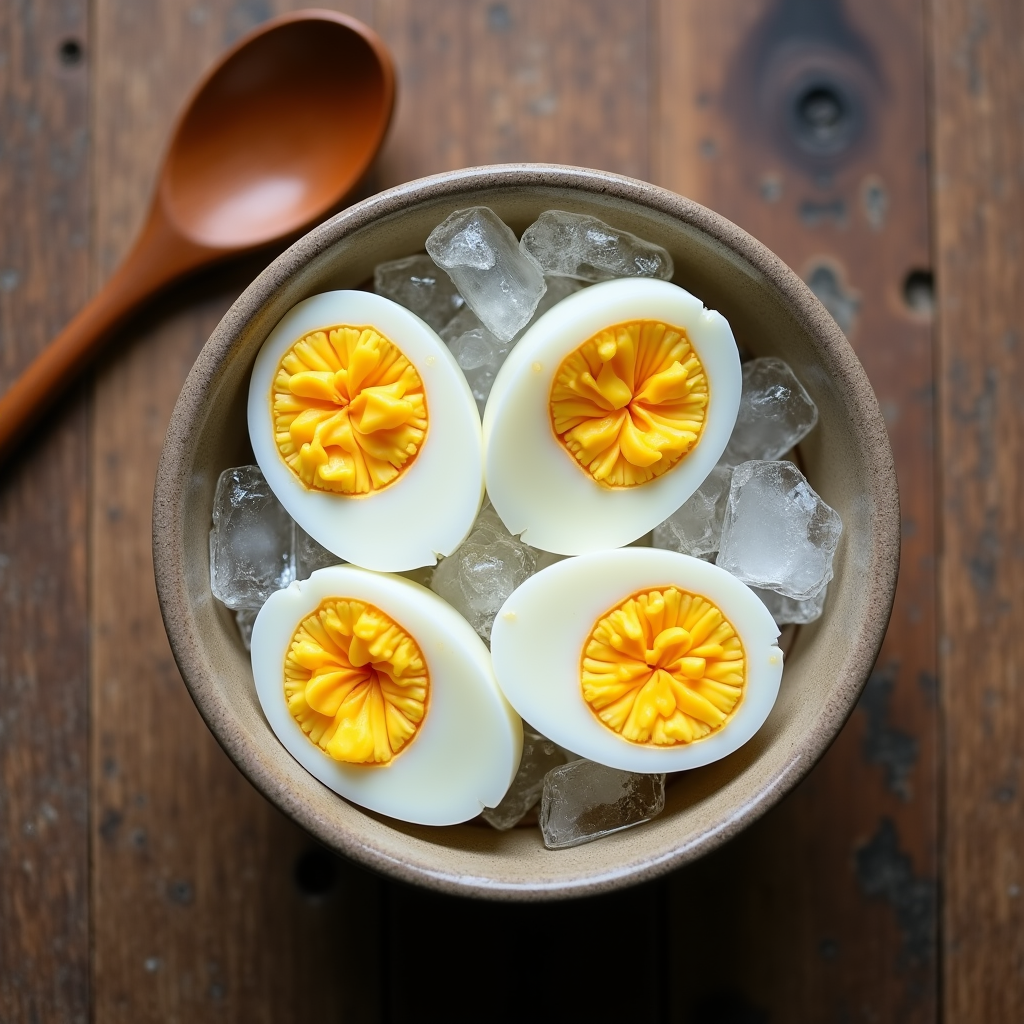
| 75°C (167°F) | 30 min | Hard yolk, firm white | Sous vide hard-boiled |
| 100°C (212°F, boiling) | 7 min | Soft yolk, firm white | Soft-boiled (boiling) |
| 100°C (212°F, boiling) | 10 min | Hard yolk, firm white | Hard-boiled (boiling) |
The sous-vide method gives reproducible textures regardless of egg size, starting temperature, or cooking time variation. The boiling-water method depends on egg size and how cold the eggs are starting from — there’s a 1-2 minute spread between textures.
What goes wrong with traditional boiling
Two common failures, both temperature-related.
Problem 1: Overcooked white, undercooked yolk
A medium-large egg dropped into rolling boiling water (100°C) follows a temperature curve where the white reaches setting temperature in about 4 minutes, but the yolk takes 6-7 minutes to reach 65°C and 8-9 minutes to reach 70°C. The window between “white sets” and “yolk sets” is 4-5 minutes. Stop too early and the white is still slimy at the center; cook 30 seconds too long and the yolk overshoots into chalky territory.
Problem 2: The green ring
Above 70°C, sulfur from the white reacts with iron from the yolk to form ferrous sulfide (FeS). The reaction needs three things: heat above 70°C, time (the longer at 70°C+, the worse), and contact (sulfur from white reaches yolk via diffusion through the membrane). A 12-minute boil produces visible green-gray rings. A 60-minute sous vide at 75°C does not — the lower temperature keeps FeS formation slow enough that the ring doesn’t develop visibly even with much longer cook time.
How to reproduce sous-vide textures without a circulator
Two methods that get within 90% of the sous-vide result without buying an Anova or Joule.
Method A: The thermometer-and-saucepan approach
Heat 4 quarts of water to 75°C (167°F). Reduce heat to maintain 73-77°C — water should not bubble; small wisps of steam only. Add eggs straight from the fridge with a slotted spoon. Cook 18-20 minutes. Transfer to ice bath for 2 minutes to halt cooking. Result: yolk sets to firm but not chalky, white firm but not rubbery, no green ring. This approximates a 75°C/30-min sous vide reasonably well.
Method B: The cooler approach
Boil 4 quarts of water. Pour into a large insulated cooler. Stir until temperature drops to 67°C (152.5°F) — about 90 seconds. Add eggs. Close cooler. Wait 45 minutes. Transfer to ice bath. Result: 65°C onsen-style egg with thick custard yolk and just-set white. Temperature drift over 45 minutes is typically 2-3°C in a closed cooler — close enough to sous vide for most purposes.
Cook’s Illustrated’s traditional method
Cook’s Illustrated’s recipe for “perfect soft-boiled eggs” specifies:
- Bring 1 inch of water to a rolling boil in a saucepan with lid
- Add eggs straight from refrigerator using a slotted spoon
- Cover, reduce to simmer (low boil)
- 6.5 minutes for runny yolk, 8 minutes for jammy yolk, 10 minutes for hard-set
- Transfer immediately to ice bath, peel after 2 minutes
This works reliably because the rolling boil + simmer + lid + 1-inch shallow water depth combination lets the eggs cook in steam-saturated 95-97°C water (slightly below boiling), which gives a more forgiving 30-second window between texture stages. Cook’s Illustrated tested egg sizes (medium, large, extra large) and found the 6.5-8-10 minute reference holds within ±15 seconds across sizes for the same starting temperature (refrigerator-cold).
The salt and acid additions
Some recipes call for adding salt or vinegar to the cooking water. The science:
- Salt has minimal effect at typical 1% concentration. Some claim it helps eggs peel more easily — Modernist Cuisine tested this and found no measurable difference. The salt does help if a shell cracks during cooking by setting the leaking egg white quickly.
- Vinegar does help with cracked-shell eggs by setting white at lower temperature (acidic environment lowers white denaturation by 5-10°C). Add 1 tablespoon per quart of water if you’re worried about shell cracks.
- Baking soda makes peeling easier. Modernist Cuisine measured this — baking soda increases water alkalinity, which helps the inner shell membrane separate from the egg white. A 1/4 teaspoon per quart is the typical addition. The trade-off: alkaline water makes whites slightly looser-textured.
The peelability question
Old eggs peel more easily than fresh eggs. The reason: the air pocket at the egg’s wide end grows over time as moisture evaporates through the porous shell. Older eggs (2+ weeks old) have larger air pockets, which means the shell membrane separates from the white more easily after cooking. For hard-boiled eggs that need to look pretty, use eggs at least 7-10 days old. Very fresh farmer’s market eggs are notoriously hard to peel.
The cooking method also affects peelability. Steam-cooking (lower water level, lid on) produces eggs that peel more reliably than boiling. The reason isn’t fully understood — current best theory is that steam cooks the white with less direct convection, leaving a thinner adherence layer between shell and white.
The bottom line
Two pieces of equipment unlock most of the egg map:
- An instant-read thermometer. This is the same tool that fixes pasta water salt, steak doneness, and fish poaching. It costs $35-100 and changes far more than just eggs.
- A digital scale. For the salt-the-water recipes that come up, weight beats volume by 2-3x accuracy.
With these, the boiling-water method gets reliable results across the whole 60-100°C range. Without them, you’re guessing — and egg cooking is a 30-second game where guessing produces consistently mediocre results.
Pick the temperature for the texture you want, hit it precisely, and the egg cooks itself.
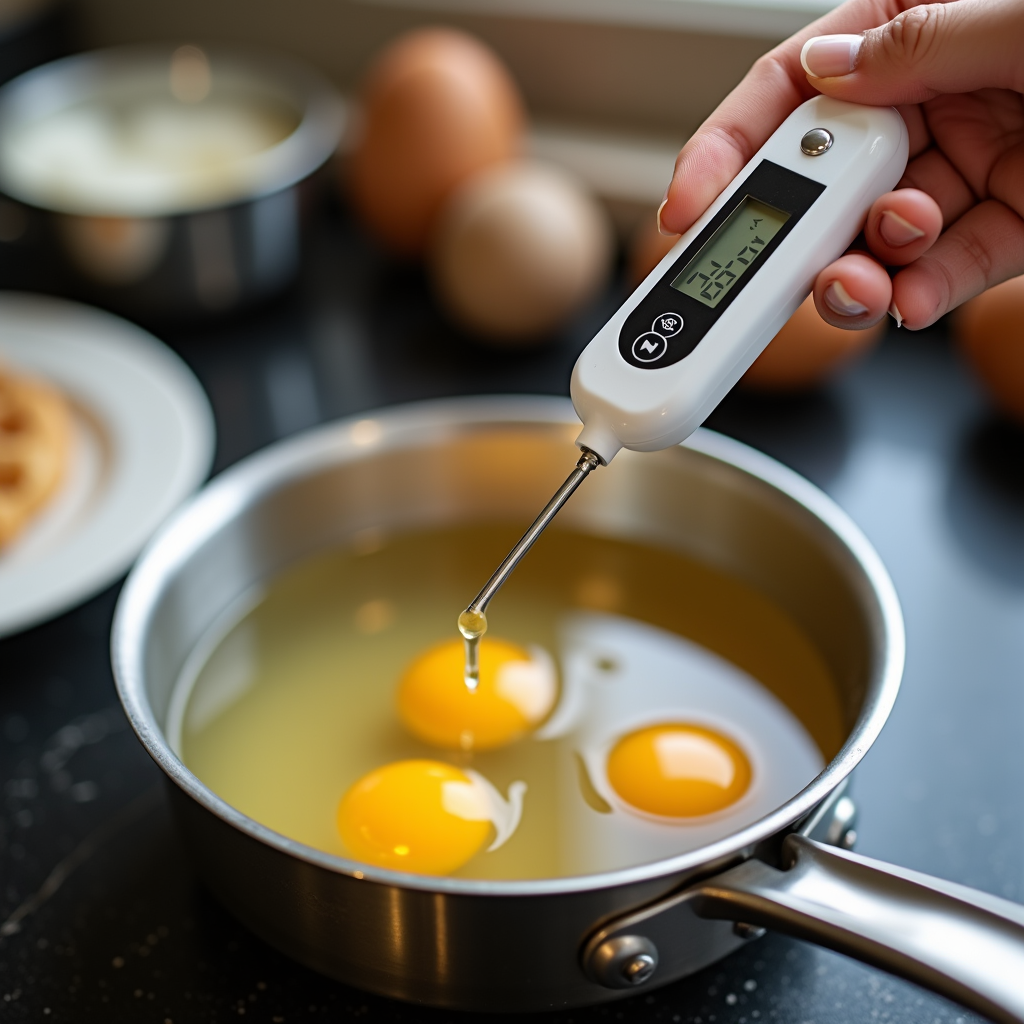
Recommended tools for hitting target egg temperatures
If you cook eggs by feel today, switching to thermometer-verified temperatures eliminates almost all overcooking. Three thermometers consistently rank as the most reliable picks for sub-second readings and accurate calibration:
ThermoWorks Thermapen ONE (instant-read)
Price · $109 list — Amazon Wirecutter top pick
+ Pros
- · 1-second reading, certified ±0.5 to ±0.9 deg F accuracy
- · Auto-rotating display, splash-proof IP67 rated
- · Industry standard used by professional kitchens
− Cons
- · Premium price compared to alternatives
- · Single-probe (no continuous oven monitoring)
Price, availability, and ratings can change; verify details on the retailer page before buying.
Lavatools Javelin PRO Duo
Price · $59 list — strong budget pick
+ Pros
- · 2-3 second reading, ±0.9 deg F accuracy spec
- · Magnetic back for fridge storage, backlit display
- · Around half the price of Thermapen with comparable speed
− Cons
- · Slightly slower than Thermapen ONE
- · Build quality less robust than premium brands
Price, availability, and ratings can change; verify details on the retailer page before buying.
ThermoPro TP19H (waterproof, rotating display)
Price · $29 list — entry-level winner
+ Pros
- · IP65 waterproof, rotating display, ±0.9 deg F accuracy
- · Sub-$30 price point with bestseller reliability
- · 4-second reading still fast enough for eggs and meat
− Cons
- · Slower readout than Thermapen / Lavatools
- · Less precision at extreme high temps (above 400 deg F)
Price, availability, and ratings can change; verify details on the retailer page before buying.
For egg work specifically, any of these will get you within 1 deg F of target — the Thermapen ONE wins on speed, the TP19H wins on price, and the Javelin PRO Duo offers the best balance for home cooks who care about both.