Microwave Hot Spots and Cold Centers: Stir, Rest, and Verify
A practical microwave reheating workflow for portion shape, covering, stirring, standing time, temperature checks, and safer leftovers.
Safety fact check included
CookNest Daily articles surface source counts, timing assumptions, kitchen-test notes, and food-safety caveats. This label means editorial safety review, not a substitute for local food-code or medical guidance.
A microwave can make the edge of a bowl painfully hot while the center stays cool. That is not merely a texture problem. Reheating safety depends on the coldest part, not the steam plume, the hottest bite, or the timer reaching zero. The practical solution is a repeatable sequence: portion, shape, cover, heat, stir or rotate, rest, and verify.
USDA explains that microwave ovens can cook unevenly and recommends arranging food uniformly, covering it, rotating or stirring, allowing standing time, and checking temperature in several places (USDA microwave guidance). For leftovers, USDA advises reheating to 165°F (74°C) (USDA leftovers guidance).
The rule: heat distribution is part of the recipe. A longer uninterrupted blast is often less reliable than a shorter cycle followed by stirring, redistribution, standing time, and measurement.
Start with the storage history
Reheating cannot repair an unsafe cooling or storage history. Discard perishable food left at room temperature for more than two hours, or more than one hour when the temperature is above 90°F (32°C), following USDA consumer guidance. If a refrigerator was without power, use the decision charts at FoodSafety.gov rather than relying on smell.
For routine leftovers, cool promptly in shallow containers and refrigerate at 40°F (4°C) or below. The USDA refrigeration guide provides storage-time context. If you do not know how long the food was warm, when it was refrigerated, or whether the refrigerator stayed cold, the microwave is not a reset button.
Why microwaves heat unevenly
Microwave energy interacts with water and other components in food, but the field inside an oven is not perfectly uniform. Container shape, portion depth, food density, moisture, frozen areas, and turntable performance all matter. Dense mashed potatoes can hide a cold core; soup may be hot at the wall and cooler below the surface; several stacked pieces can shield one another.
A laboratory study found that foodborne pathogens could survive microwave heating of catfish fillets under some tested conditions, illustrating why time alone cannot stand in for verified heat distribution (Huang and Sites, 2012). That study does not provide a household reheating schedule. It supports the broader principle that uneven microwave exposure can leave survival zones.
The seven-step reheating workflow
1. Portion only what you will eat
Move one meal portion to a clean microwave-safe dish. Leaving the main container in the refrigerator limits repeated warming and handling. If the food is frozen in a deep block, thaw it safely first or divide it as soon as the exterior softens enough to separate without leaving the food warm for an extended period.
2. Choose a shallow, suitable container
A shallow round or oval dish generally heats more evenly than a tall, narrow one because the food layer is thinner. Use glass, ceramic, or another container identified by its maker as microwave-safe. Avoid metal, metallic trim, foam trays, damaged plastic, and takeout packaging with uncertain instructions. Follow the appliance maker’s precautions and do not operate an oven with damaged doors, hinges, latches, or seals.
3. Reshape the food
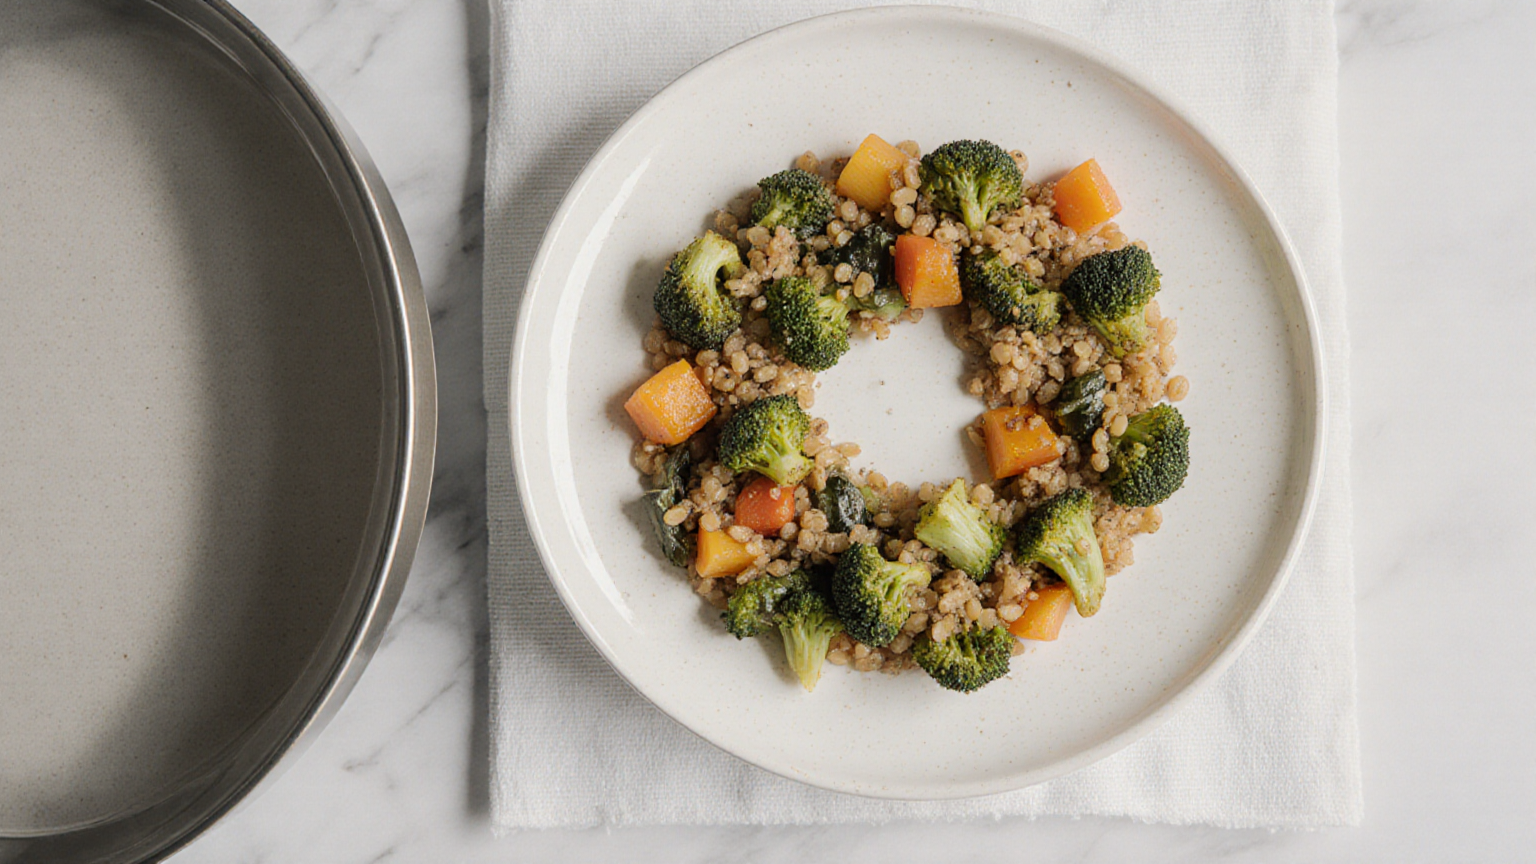
Spread dense food into an even layer. Place thicker pieces toward the outside and thinner pieces toward the center. For rice, pasta, casseroles, and chopped foods, create a shallow ring with a small center opening when practical. Add a small amount of water or broth when the food needs moisture, but do not dilute food merely to shorten time.
4. Cover and vent
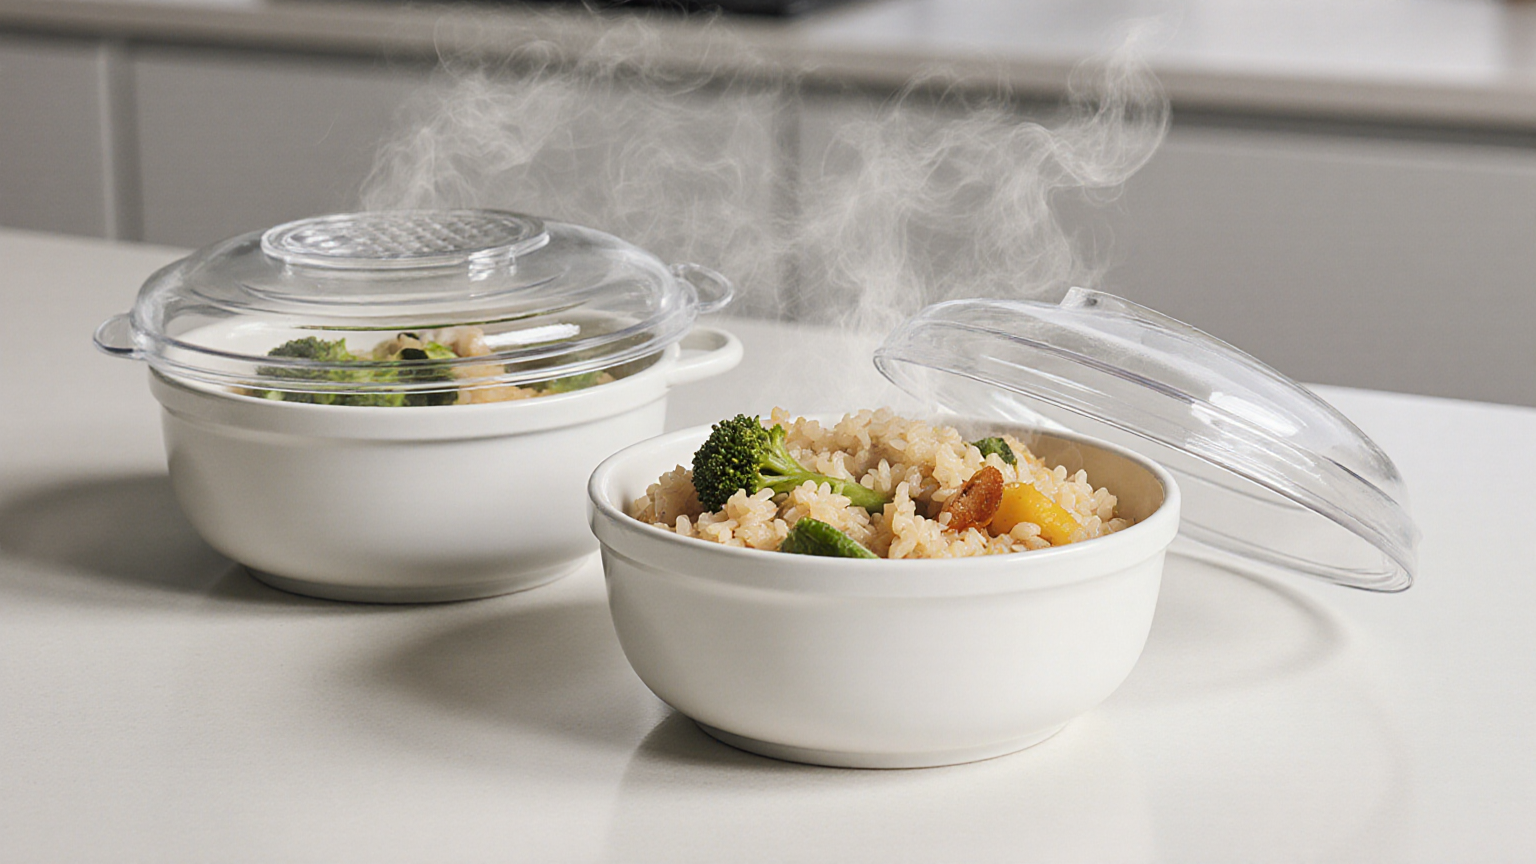
Use a microwave-safe lid or cover that allows steam to vent. Covering reduces splatter and can help retain moisture and distribute heat. Do not seal a container airtight. Open hot covers away from the face and hands because trapped steam can burn.
5. Heat in stages
Use the appliance and product instructions as the starting point. For an unknown leftover, heat for a shorter interval, then inspect. Lower power can help dense food warm more gradually, but it does not eliminate the need to stir and verify. Wattage differs across ovens, so a time copied from another kitchen is not a safety guarantee.
6. Stir, rotate, and separate
Stir from the cool center toward the hot edge and scrape the bottom. Turn over large pieces. Separate items that were touching. If the oven lacks a turntable, manually rotate the dish. Return it for another heating interval.
7. Rest, then verify
Standing time lets heat continue moving through food after microwave energy stops. Keep the food covered for the recipe or manufacturer’s specified standing time. Then insert a clean food thermometer into several thick or dense locations, avoiding the container. USDA’s safe-temperature chart identifies 165°F for leftovers and casseroles.
A decision table by food shape
| Food | Main cold-spot risk | Better setup | Mid-cycle action | Verification points |
|---|---|---|---|---|
| Soup or stew | Cooler center/bottom; chunks lag behind broth | Shallow bowl, vented cover | Stir bottom-to-top | Center, bottom, and largest pieces |
| Rice or pasta | Dense clumps; dry edges | Break clumps; add a little moisture; shallow ring | Stir and redistribute | Several dense clumps |
| Casserole | Thick center | Cut into smaller portion; even thickness | Rotate; lift and fold center | Center and two off-center points |
| Sliced meat with sides | Pieces differ in thickness | Thicker pieces outside; sauce or cover for moisture | Turn meat; stir sides | Thickest meat plus dense side |
| Several small items | Contact points remain cool | Space in a single layer | Rearrange inside/outside positions | Multiple pieces, especially center group |
| Frozen meal | Ice core; sauce hotter than solids | Follow package directions exactly | Stir only when instructed | Required standing time and package endpoint |
Do not sample several bites to “find out” whether it is hot. That is unreliable and can cause burns. Use the thermometer as a decision tool, then clean it before reuse.
Time is not transferable between ovens
Suppose one package was developed for a 1,100-watt oven and your oven is 700 watts. A rough energy ratio is 1,100 ÷ 700 = 1.57, suggesting the lower-wattage oven may need substantially more time. But multiplying the package time by 1.57 is not a validated safety conversion: oven geometry, duty cycle, food starting temperature, mass, and instructions differ. Use the package’s wattage guidance when supplied; otherwise heat in stages and verify.
A safer calculation concerns portion depth. If the same 3 cups of casserole are spread across a dish with twice the surface area, the average depth is roughly halved. That usually makes stirring and heat distribution easier, but it still does not prove the center reached 165°F. Shape improves the odds; measurement closes the decision.
Thermometer technique that avoids false confidence
Use a thin-tip digital food thermometer suitable for the portion. Wash the probe with hot soapy water before and after checking. Insert it from the side into thin foods when possible so enough of the sensing area sits in the center. For mixed dishes, check the densest ingredients and multiple locations.
If one point reads 170°F and another reads 120°F, the food is not “145°F on average.” Stir or rearrange, reheat, rest, and recheck the coolest zone. The FDA Food Code is written primarily for retail and food-service operations, but its time-and-temperature framework reinforces an important concept for homes: safety controls must apply to the food, not merely the appliance setting.
Special cases
Infant food and bottles: microwaves can create dangerous hot spots. Follow pediatric and product guidance; do not rely on a quick wrist test to reveal every hot zone.
Stuffed foods and thick poultry pieces: follow validated package directions. Products that look browned may still be raw or not ready to eat. Never improvise from appearance.
Sauces and liquids: stir before tasting and allow standing time. Superheated liquid can erupt when moved or when an ingredient is added. Use the container and heating instructions, avoid overfilling, and handle cautiously.
High-risk eaters: older adults, pregnant people, young children, and people with weakened immune systems may face more serious consequences from foodborne illness. Be especially strict about storage history, validated instructions, cross-contamination, and temperature verification.
Cross-contamination still matters
Microwave reheating is the final heat step, not the entire safety system. Follow the CDC’s clean, separate, cook, and chill framework (CDC). Use a clean dish and utensils. Do not place reheated food on a surface that held raw meat. Wash hands after handling dirty packaging, refrigerator spills, or raw ingredients. Keep the thermometer probe clean.
For a complete cooling workflow, see Cooling Leftovers Fast. For refrigerator placement and weekly discard decisions, use the fridge-temperature routine.
Texture fixes that do not compromise the safety sequence
Microwaves can make bread rubbery, vegetables limp, and fried coatings soft. Solve texture after safe reheating. A brief finish in a skillet, toaster oven, or air fryer may improve browning when appropriate, but only if the food was stored safely and the additional appliance is used correctly. Never reduce the microwave endpoint because another quick crisping step “looks hot.”
For rice, add a small splash of water, cover, and break clumps. For pasta, distribute sauce and stir. For meat, slice thick pieces and use moisture. These are quality controls; they do not replace the thermometer check.
The final checklist
Before eating, confirm:
- The storage history was acceptable.
- The container is microwave-safe and undamaged.
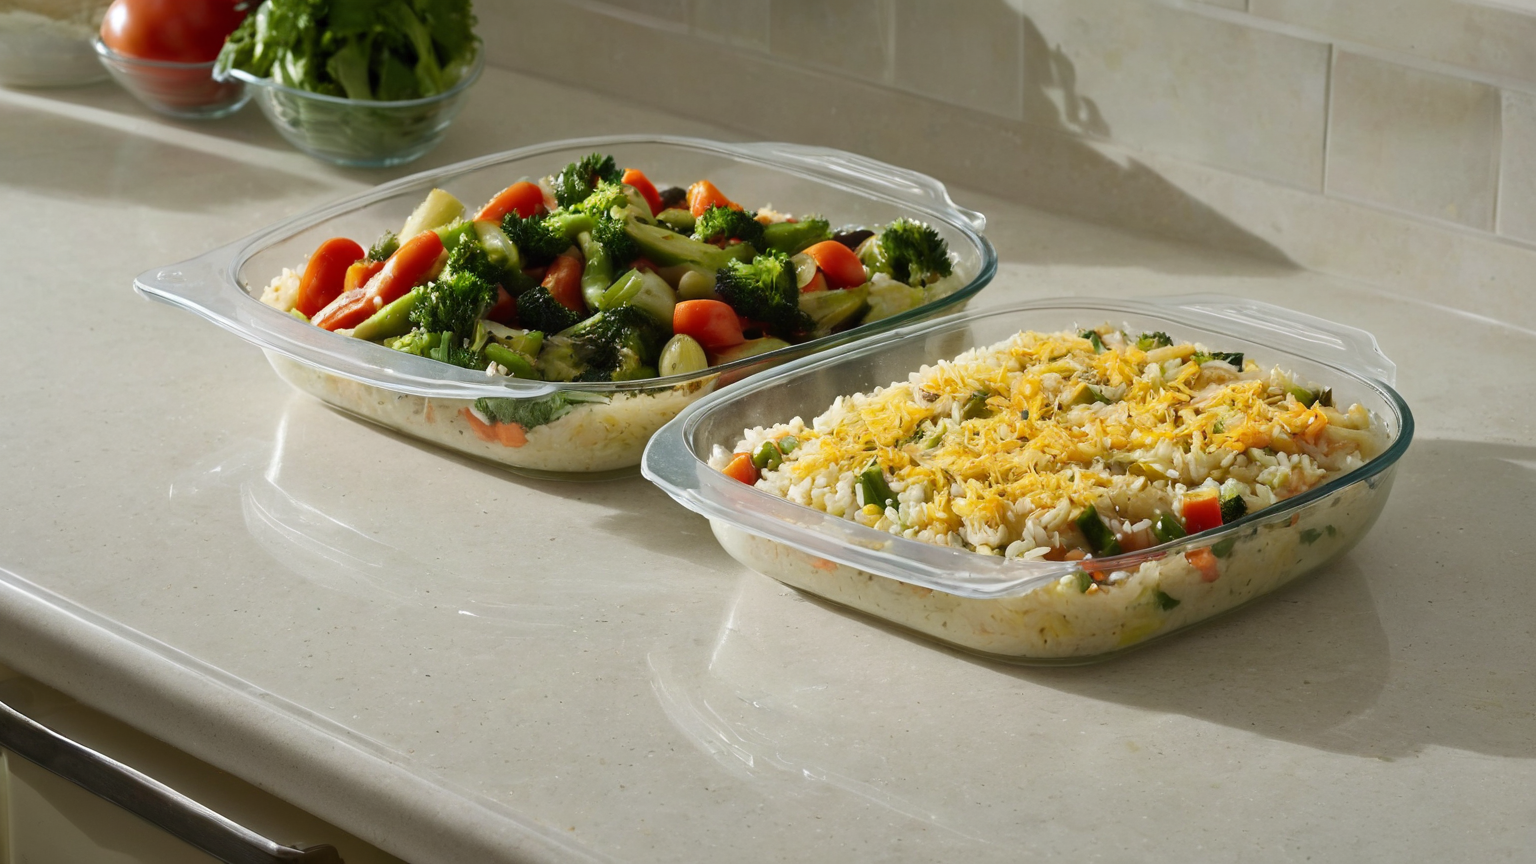
- Food was spread in a shallow, even layer.
- It was covered with a vented microwave-safe cover.
- Dense food was stirred, turned, or rearranged mid-cycle.
- The required standing time was completed.
- Several locations, including the coldest dense zone, reached the correct endpoint.
- The thermometer was cleaned.
- Only the portion needed was reheated.
The microwave is fast because it delivers energy directly into food, not because it makes food uniform. Treat stirring, resting, and checking as part of the cooking process, and cold centers become a manageable variable rather than a surprise at the table.