Oven Thermometer Accuracy — Why Your Oven Lies (2026)
Most home ovens drift 25-50 degrees from the set temperature. A cheap oven thermometer catches the lie and fixes the baking results that depend on knowing actual temperature.
Safety fact check included
CookNest Daily articles surface source counts, timing assumptions, kitchen-test notes, and food-safety caveats. This label means editorial safety review, not a substitute for local food-code or medical guidance.
Most home cooks assume their oven runs at the set temperature. Consumer Reports testing in 2024 found that this assumption is wrong for the majority of home ovens — most drift 15-30°F from the set temperature, and some are off by 50°F or more. The drift can go either direction, accumulates over years of use, and quietly ruins recipes that depend on knowing actual temperature.
This article explains why ovens drift, what a $10-20 oven thermometer reveals, and how to compensate once you know your oven’s actual behavior. The conclusion is that an oven thermometer is the highest-leverage $15 most home bakers can spend — it transforms recipe results by eliminating an invisible variable.
- Why home ovens drift from set temperature
- How to measure and document your oven’s actual behavior
- Compensating for drift through mental adjustment or recalibration
- Convection vs conventional oven accuracy differences
- Top oven thermometer picks across $10-30 budget range
Why ovens drift
The oven thermostat measures temperature with a sensor (typically a thermistor or bimetallic strip). The sensor is positioned somewhere inside the oven cavity — usually near the back wall.
Over years of use, several drift sources accumulate:
Sensor aging: The temperature-sensitive material in the sensor gradually shifts its response curve. After 5-10 years, a sensor that read 350°F at factory calibration may read 325°F or 375°F at the same actual temperature.
Heating element wear: Electric heating elements lose some efficiency over time. Gas burners may have flame issues from clogged orifices.
Insulation degradation: Door seals, gaskets, and wall insulation gradually deteriorate. Heat escapes faster, making the oven work harder to maintain temperature.
Mechanical issues: Loose connections, faulty relays, or worn parts can cause temperature instability beyond drift.
The result: a working oven that “feels” fine but bakes inconsistently. Cookies brown faster than they used to. Bread doesn’t rise as much. Custards set or curdle unexpectedly. The cook blames the recipe or technique; the actual cause is the oven.
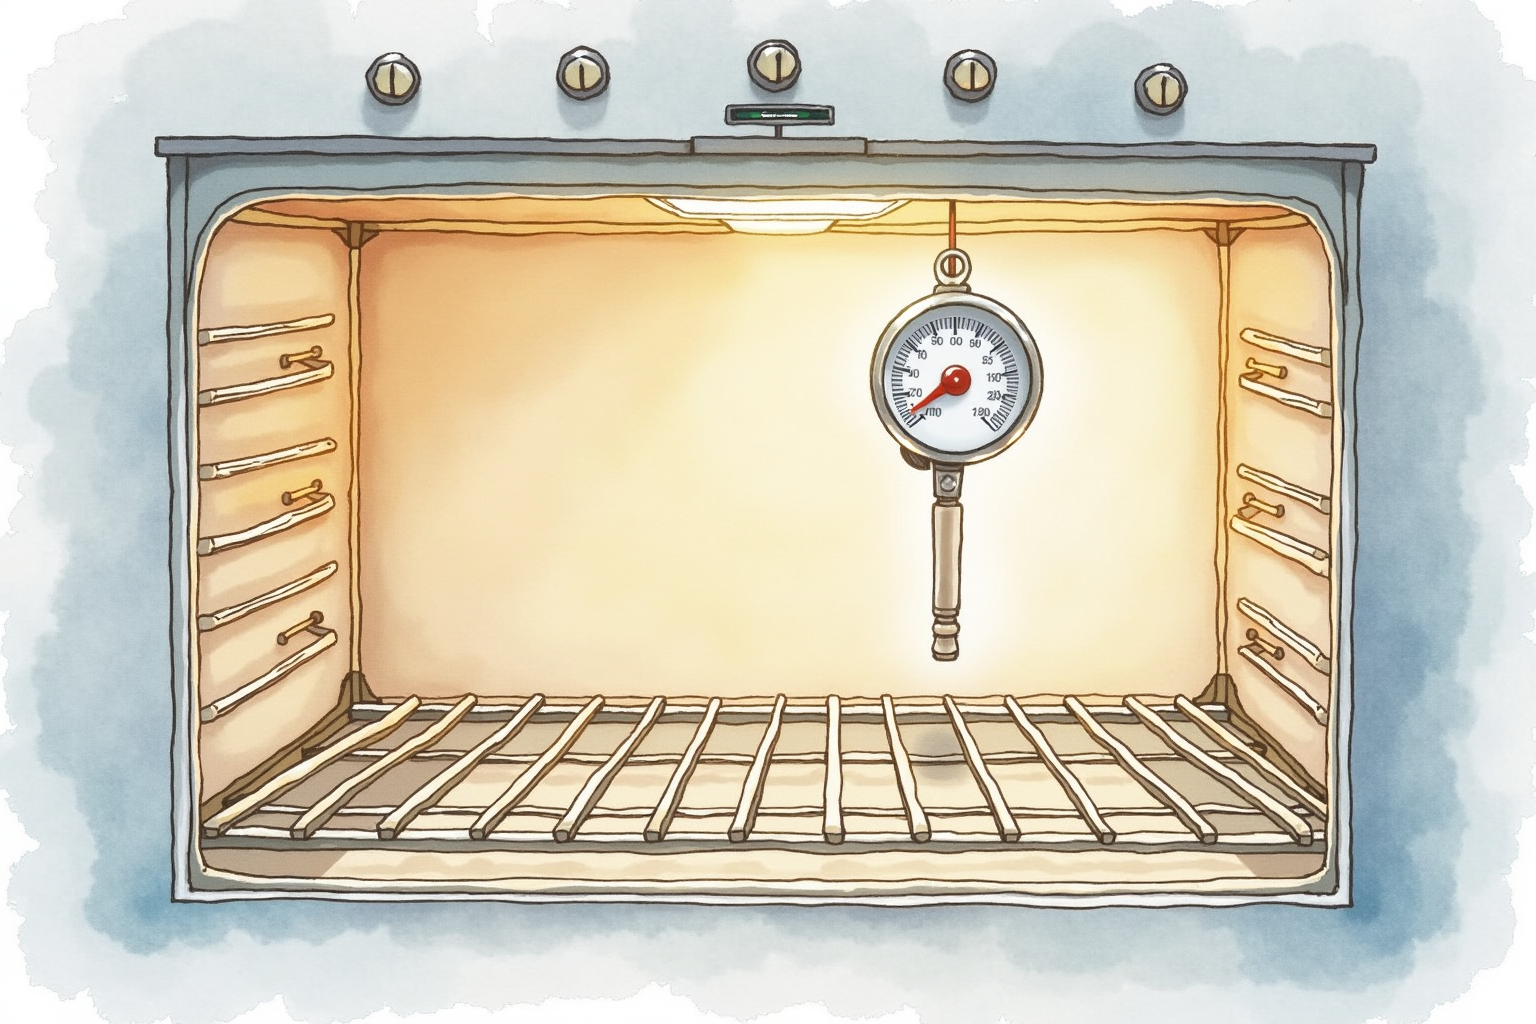
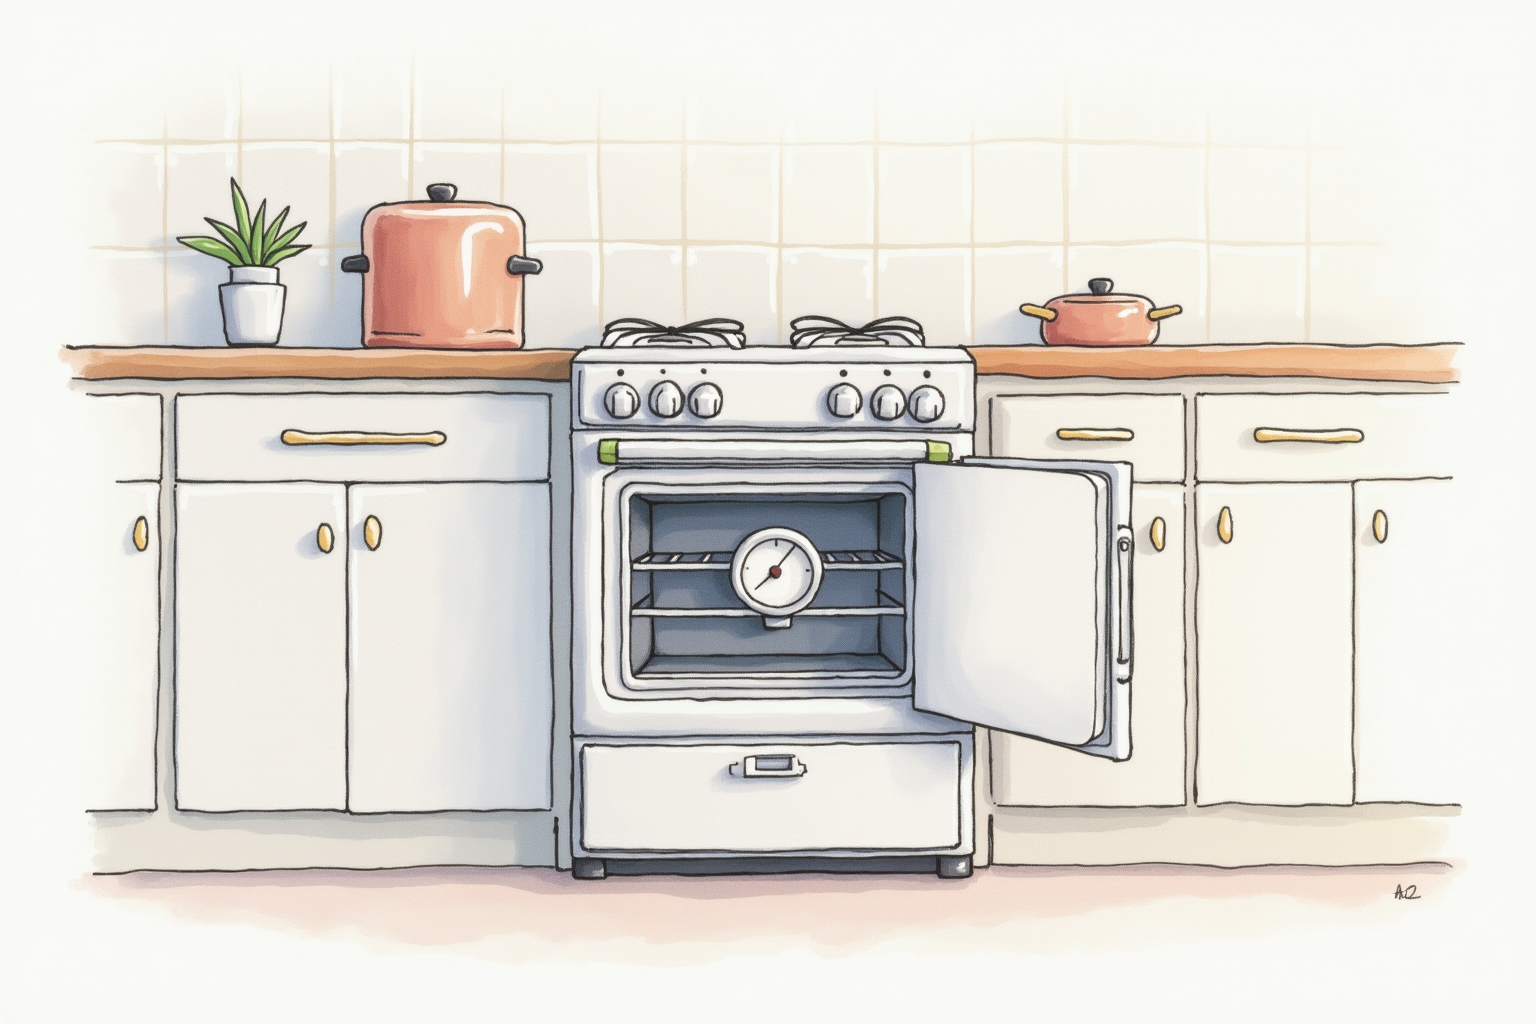
What an oven thermometer reveals
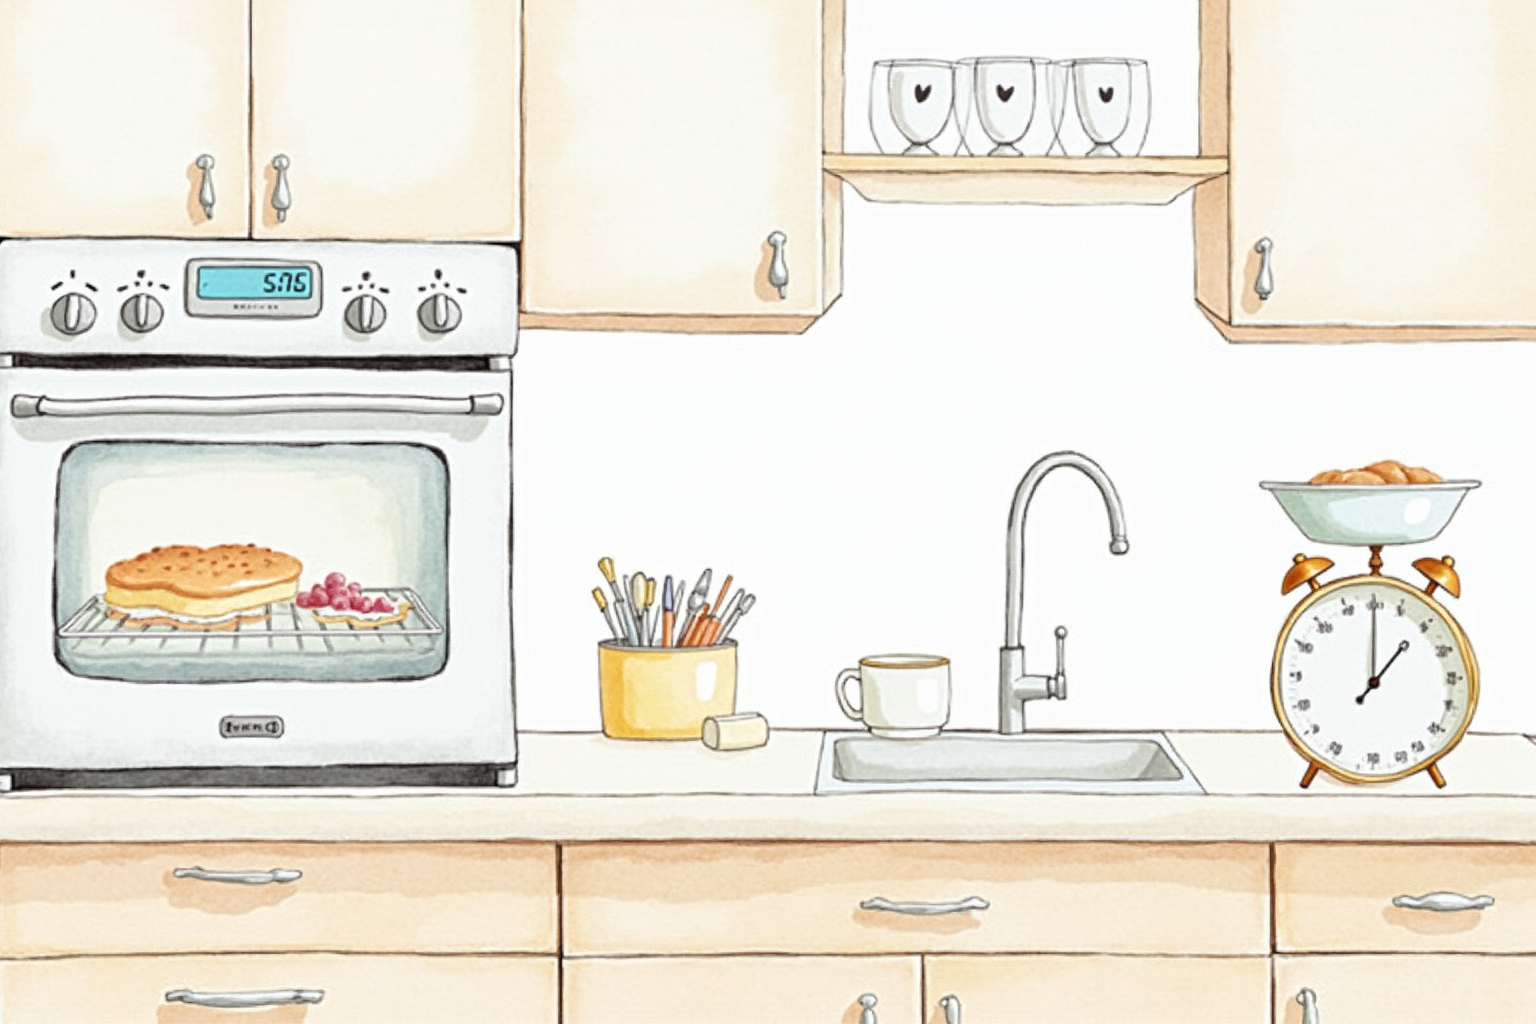
A $10-20 oven thermometer placed in the middle of the oven during preheat reveals the actual temperature, which can differ significantly from the set temperature.
Common findings in home ovens:
- Set 350°F, actual 325°F (oven runs cold)
- Set 350°F, actual 375°F (oven runs hot)
- Set 350°F, actual fluctuates between 335°F and 380°F (poor temperature stability)
- Set 350°F, varies across positions: 365°F center, 340°F front, 355°F back (uneven heating)
Without the thermometer, all these scenarios look identical from outside. The oven hums, the timer rings, the food comes out. But the food behaves differently than the recipe predicts because the actual temperature differs from the assumed temperature.
Procedure:
- Place an oven thermometer on the middle rack, center position.
- Set the oven to 350°F. Preheat for 30 minutes (longer than the typical “preheat complete” beep).
- Read the thermometer. Note the difference from set temperature.
- Repeat at 400°F and 450°F to see if the drift is consistent or varies by temperature.
For thorough mapping, repeat with the thermometer in different positions (corners, top rack, bottom rack) to identify hot and cold spots.
Compensating for drift
Once you know your oven’s drift, two compensation approaches work:
Mental adjustment (simpler):
- If oven runs 25°F hot: set 25°F lower than recipe (350°F recipe → set 325°F)
- If oven runs 25°F cold: set 25°F higher (350°F recipe → set 375°F)
This approach is universal and requires no oven service. Most home cooks adopt it once they identify the drift.
Oven recalibration (built-in feature): Most modern ovens have a recalibration mode in the settings menu, typically under “Temperature Offset” or “Calibration.” Common values: -25°F, -15°F, 0, +15°F, +25°F. The oven’s internal sensor reading gets adjusted by this offset.
After recalibration, the set temperature should match the actual temperature (verify with the oven thermometer after a 30-minute preheat).
Limitations of recalibration: A single offset doesn’t fix oven that drifts non-linearly (e.g., runs 15°F hot at 300°F but 35°F hot at 450°F). For non-linear drift, the mental adjustment approach with different offsets at different temperatures is more accurate.
For severely drifted or unstable ovens (>50°F drift, or temperature fluctuations during cooking), professional repair or replacement is the right answer.
Convection vs conventional accuracy
Convection ovens have a fan that circulates air throughout the oven cavity. This produces more uniform temperature across the oven space, eliminating the hot spot near the heating element and cold spots in corners.
Comparing accuracy:
- Conventional oven: 15-30°F variation across positions; 15-30°F drift from set temperature.
- Convection oven: 5-15°F variation across positions; similar drift from set temperature.
The fan doesn’t fix the thermostat sensor drift, but it improves the consistency within the oven cavity. For bakers who care about even browning across a sheet pan, convection is the better choice.
Convection-converted recipes (recipes adjusted for fan ovens) typically reduce temperature by 25°F and reduce cooking time by 25%. The temperature reduction compensates for the more efficient heat transfer from circulating hot air.
Top picks across budgets
CDN ProAccurate Oven Thermometer
Price · $15-22 — best mid-range pick
+ Pros
- · Stainless steel housing tolerates 500°F+ oven heat
- · Large 2-inch dial easy to read through oven window
- · Independent verification of accuracy by Cook's Illustrated
− Cons
- · Hanging hook design limits placement options
- · Analog dial less precise than digital alternatives
Price, availability, and ratings can change; verify details on the retailer page before buying.
Taylor Classic Oven Thermometer
Price · $8-12 — best budget pick
+ Pros
- · Cheapest reliable oven thermometer
- · Decades-old brand reputation
- · Compact size fits in any oven
− Cons
- · Smaller dial (1.5 inches) harder to read through oven door
- · Less robust than premium picks for daily-use households
Price, availability, and ratings can change; verify details on the retailer page before buying.
ThermoPro TP-15 Digital Oven Thermometer
Price · $20-30 — best digital pick
+ Pros
- · Digital display with 1°F resolution
- · Magnetic backing sticks to oven walls
- · Hi-Low temperature memory tracks oven cycling
− Cons
- · Battery requires periodic replacement
- · Less durable than analog dials over years
Price, availability, and ratings can change; verify details on the retailer page before buying.
The buying decision
For most home cooks, the CDN ProAccurate at $15-22 is the right pick. The stainless steel construction and 2-inch dial make it usable across years; the Cook’s Illustrated verification adds confidence in the accuracy.
For budget-conscious cooks or those who want a secondary thermometer for monitoring different oven positions simultaneously, the Taylor Classic at $8-12 covers the basic functionality. Two Taylor thermometers for $20 enable cross-checking that catches uneven heating.
For users who want digital precision and memory features, the ThermoPro TP-15 at $20-30 adds the hi-low temperature tracking that reveals oven cycling behavior (how much the temperature varies between heating cycles).
The oven thermometer is one of the most-overlooked tools in home cooking. The cooking improvement from knowing actual temperature is dramatic, the cost is trivial, and the result is consistent recipe outcomes that no other equipment upgrade can match. Buy one this week and verify your oven’s actual behavior; the results will likely surprise you.
2026 AdSense quality update: how to use this guide in a real kitchen
This section was added on 2026-06-26 after a sitewide quality review. The goal is to make Oven Thermometer Accuracy — Why Your Oven Lies (2026) more useful than a short reminder list: it should help a reader decide what to do, what to measure, and when to stop. For this topic, the main risk is that the risk usually comes from one missed handoff between shopping, prep, cooking, serving, and cleanup. The safe response is not a vague promise to “be careful”; it is to write the trigger, thermometer check, time limit, cleaning step, and discard rule before the busy part of cooking starts.
Use the guide as a kitchen workflow, not as medical advice. If someone is already ill, has a high-risk immune status, is pregnant, is an older adult, or is feeding young children, use official food-safety guidance and professional medical advice rather than experimenting with borderline food.
Decision workflow for kitchen food-safety routine
| Checkpoint | What to verify | Safer default | Evidence to keep |
|---|---|---|---|
| Before cooking | Is the ingredient cold, separated, and within date? | Start with clean hands, a clean board, and a clean tool set. | Package date, refrigerator temperature, or shopping time. |
| During prep | Can raw juices or dirty water reach ready-to-eat food? | Separate raw, cooked, and produce zones before the counter gets busy. | Which board, knife, plate, and towel were used. |
| During cooking or holding | Is there a measurable temperature or time control? | Use a thermometer, timer, shallow container, or cooler plan instead of memory. | Internal temperature, discard time, or cooling start time. |
| Serving | Will guests open, touch, or move the food repeatedly? | Serve smaller portions and refill from a controlled hot/cold source. | Time the first serving dish left the refrigerator, grill, or oven. |
| Leftovers | Do you know the time and temperature history? | Refrigerate promptly; discard when the history is unclear. | Container label with date and food name. |
| Cleanup | Could residue move to tomorrow’s food? | Wash, sanitize where appropriate, and air-dry before storage. | Tool or surface that needs a second pass. |
Three common failure scenarios
- The schedule slips. Guests arrive late, errands take longer than expected, or a storm changes the plan. When timing changes, reset the food-safety clock instead of stretching it. Move food back to controlled temperature, or write a new discard time.
- The workspace gets crowded. Phones, towels, packaging, pets, and drink cups enter the prep area. Clear one clean landing zone for ready-to-eat food and keep raw-food tools visibly separate.
- A food looks fine but the history is unknown. The dangerous version is letting convenience replace temperature, separation, or handwashing. Smell, color, and texture are not reliable safety tests. When the time/temperature history is missing, discard the food.
Household checklist
- Put a refrigerator thermometer where it can be seen without moving food.
- Keep at least one instant-read thermometer clean and easy to reach.
- Use shallow containers for dense leftovers and label the date.
- Keep raw-meat boards, produce boards, and serving platters visually different.
- Decide the discard rule before cooking begins, not after everyone is tired.
- Re-check official sources when cooking for high-risk people or large groups.
Why this page exists
Many food-safety articles repeat the same four words—clean, separate, cook, chill—without showing the handoffs where people actually fail. CookNest Daily articles now include the handoff: what to measure, what to separate, what to label, and what to discard. That is the value this page adds for readers preparing a real meal.